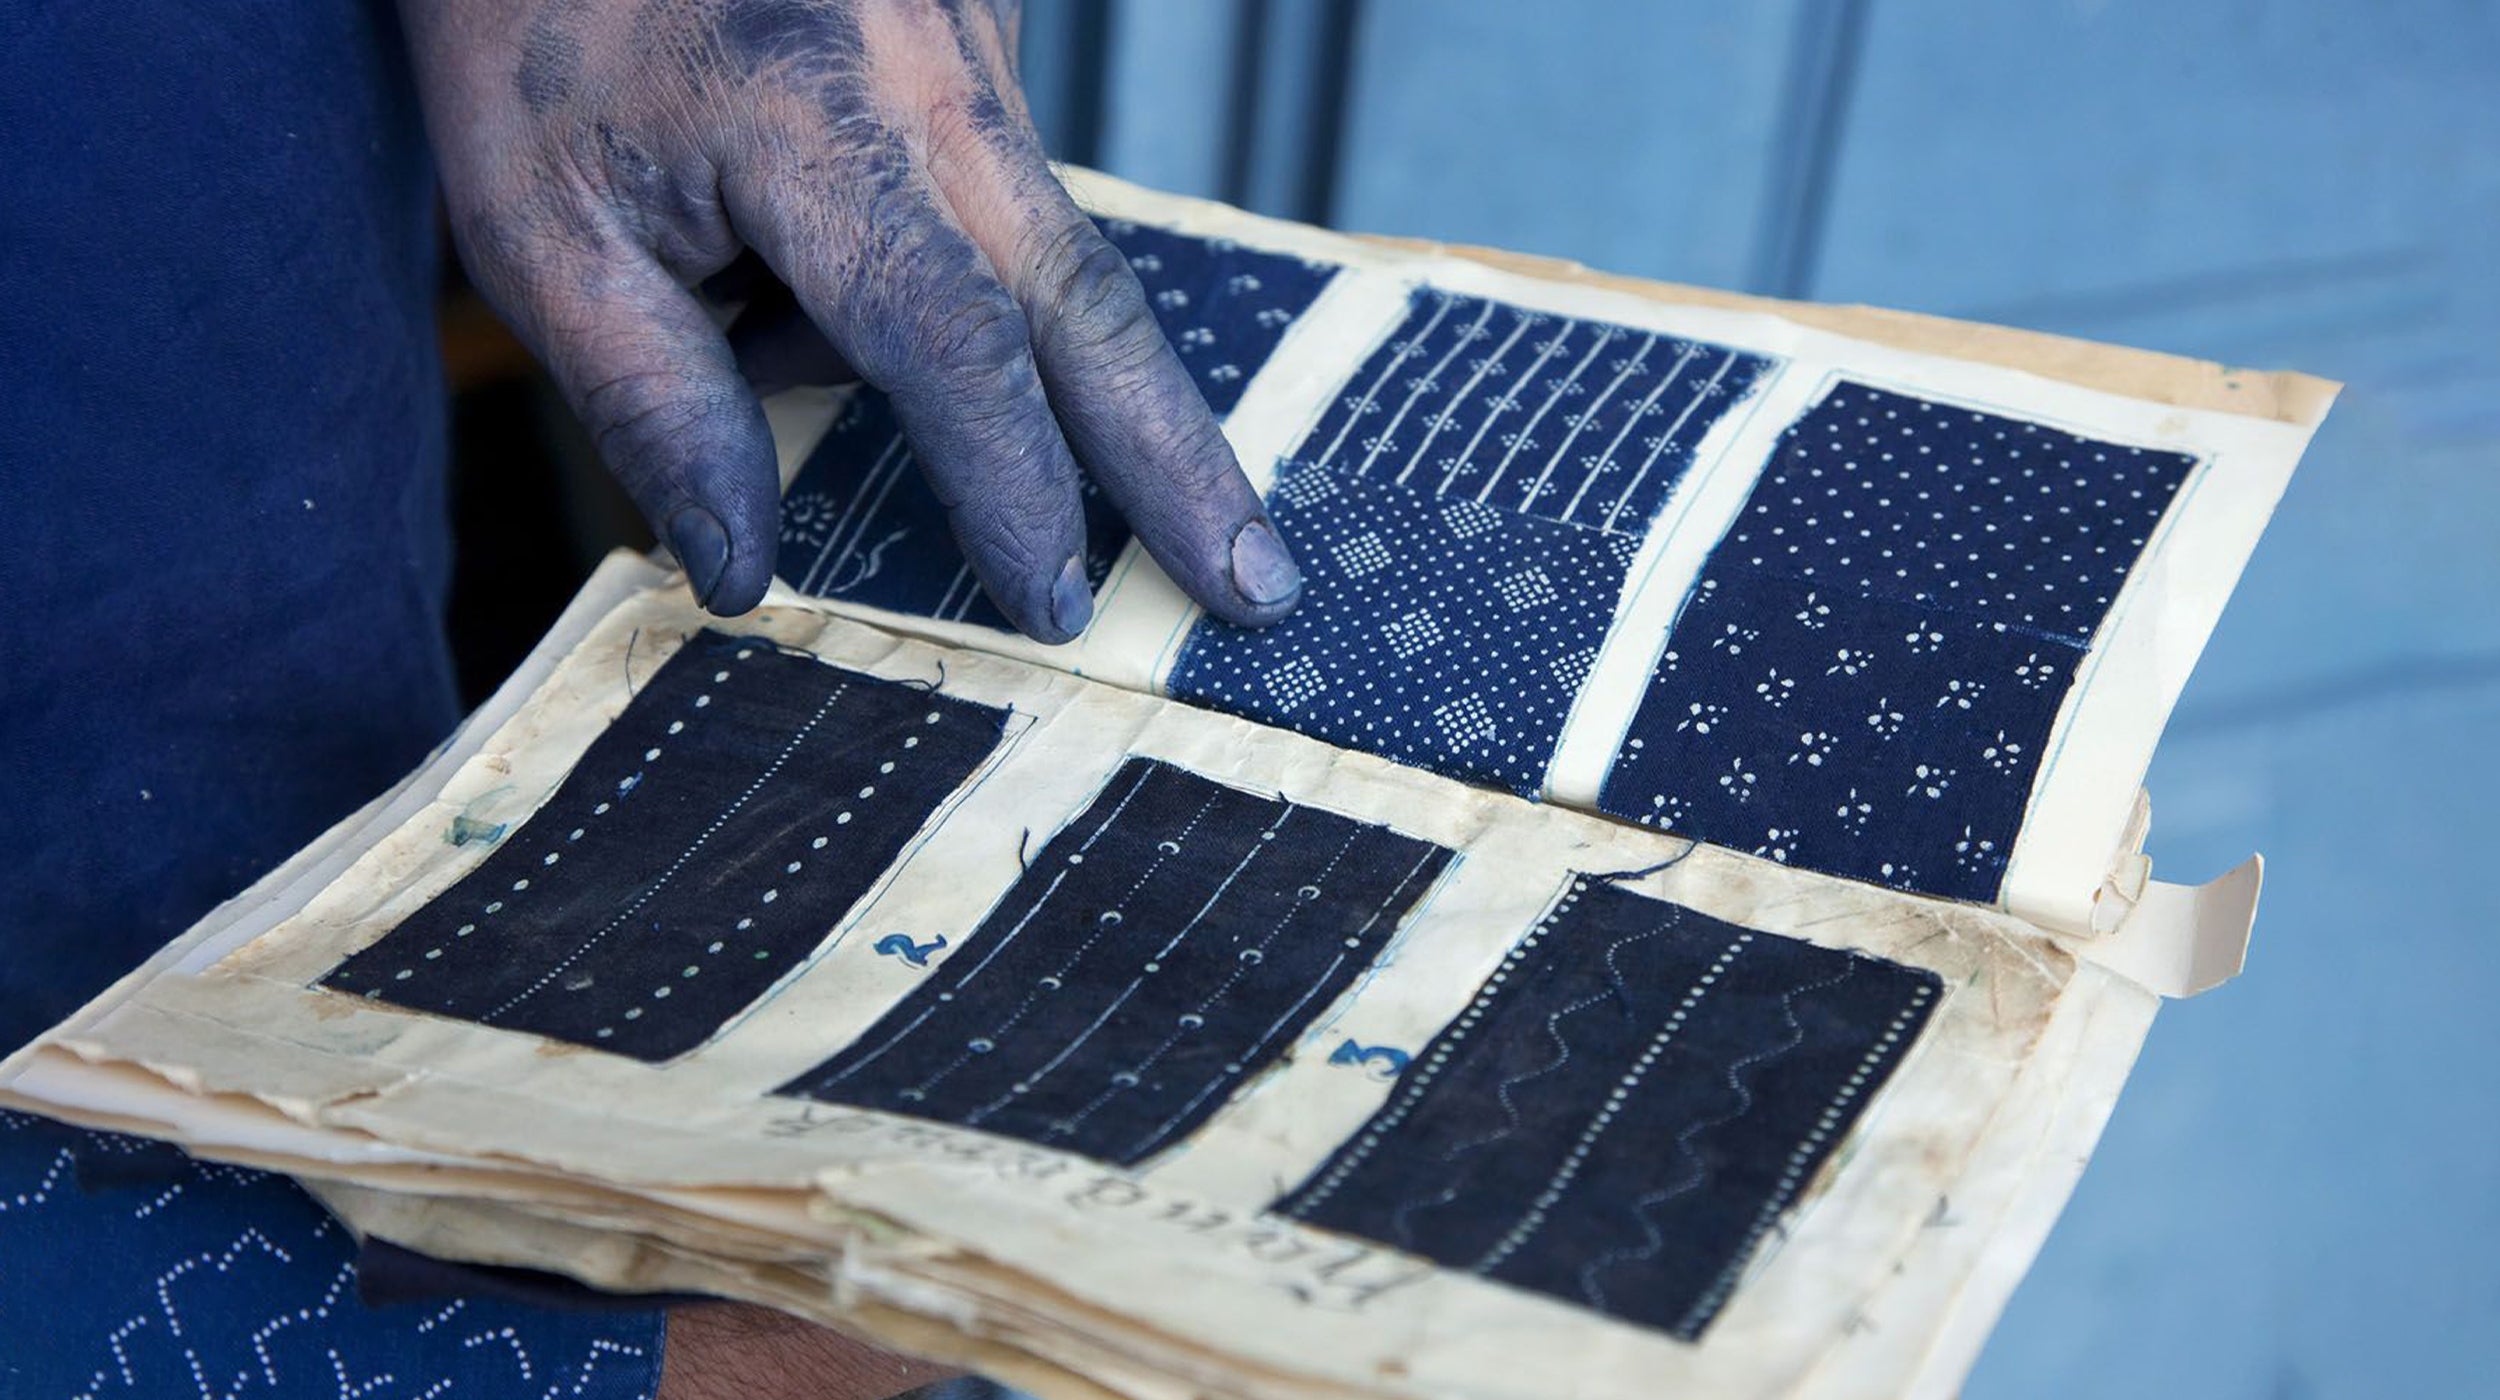
Block Printing: The Journey from Wooden Craft to Artful Expression.
The practice of Hand Block Printing began in the 12th century as a rich art form of printing on fabrics, which was enjoyed and used by the royal family, kings and queens. Hand block-printing, an age-old art form, has thrived in India for centuries, demanding precise movement and meticulous hand-eye coordination. Believed to have its roots in China, this ancient practice made its way to present-day India, with Bagru in Rajasthan emerging as a central hub for this intricate craft. The art of hand block-printing has been a centuries-old practice in India. The practice of block printing was introduced in Jaipur by the Chippa Community. The Chhipa community originally located in Bagru Village, the village which is now famous and renowned for its vegetable dye and mud resist (dabu or daboo) block prints. In present-day India, Bagru in Rajasthan stands as a pivotal hub for hand block-printing. This intricate process, with its roots in ancient traditions, has endured through generations, showcasing the enduring craftsmanship of artisans.

Source
Major Hubs of Hand Block Printing in India
India is renowned for its detailed hand block-prints, with the majority of this craft concentrated in regions like Bagru, Ahmedabad, Pethapur, Farukhabad, and Sanganer. These areas are situated in the states of Gujarat and Rajasthan.
Step 1: Carving the Block
The creation of a pattern begins with a hand-drawn or digital design, which is then printed on paper. Subsequently, the design is transferred onto tracing paper. A block of Sheesham, a type of North Indian Rosewood, is coated with white chalk. This chalk-coated wood provides a clear surface for the pattern to be traced onto, facilitating the work of the wood carver. Once the pattern has been successfully transferred onto the wooden surface, the intricate process of carving begins. The larger sections of the wood are skillfully carved using a machine, ensuring precision and efficiency. On the other hand, the smaller, more intricate details demand a more delicate touch. Here, skilled artisans employ small chisels and various hand tools, infusing the design with a level of craftsmanship that adds a unique, handmade touch to the final piece. The harmonious blend of machine and hand carving techniques brings the intricate pattern to life on the Sheesham wood, creating a work of art that embodies both precision and artistry.

Source
Step 2: Preparing of Dyes
Once the wooden stamps are prepared for printing, a skilled hand block printer, often referred to as "The Master" blends primary colors to achieve the intricate hues needed for the final printing process.
Step 3: Treatment of Fabric
Before starting block printing, the chosen fabric is washed to remove any starch. If dyeing is needed, it's done before printing. In hand block printing, the artisan places the fabric on a printing table, stretching it carefully and securing it with small pins, preparing for the printing process.
Step 4: Application of Dyes
After the carving process, dye is applied to the wooden block's surface using a 'sieve' Subsequently, the wooden block is gently pressed onto a dye palette before being applied to the fabric. The printing tray, resembling a multi-story tray, is equipped with wheels for easy movement across the printing table. It facilitates seamless transition from one side to another.
The first level of the tray is dedicated to the color paste, specifically spread on Marino wool basket weave fabric. This fabric serves as an ideal medium for applying the color paste. The second level is designated for holding the wooden blocks, as block printers utilize multiple blocks in cycles to craft intricate patterns on the fabric.
The third and lowest level of the tray functions as storage for rags and brushes, allowing for the periodic cleaning of spills and maintaining a tidy workspace throughout the block printing process.
Step 5: Printing
Block printing has a special technique that needs to be followed for desired results. Printing always begins from left to right. After completing the initial steps, the printing process kicks off. The number of colors used dictates the requirement for multiple blocks, each with specific names - "Rekh" for outlines and "Dutta" for fillers. In the case of Gadd print fabric, with more filler color and fewer outlines, it demands a higher of color and may involve additional costs compared to standard printing. The process begins with printing outlines and subsequently filling in colors. Achieving multi- color printing involves several printers working simultaneously on the fabric.
Source
Step 6: After Treatment
Upon the completion of the hand block-printing process, the artisan sprinkles fine sawdust onto the damp dye to prevent any smudging of the design. Subsequently, the fabric is left to air-dry in the sunlight. Various dyes may be applied for block printing on cotton and silk fabrics. Common cotton dyes encompass indigo sol, pigment dyes, and rapid dyes. Traditional colors employed in block printing include red, black, brown, mustard, and orange.


